Phone +86 13698694209
Email info@qdvantis.com
Address
RM 302-26-59 No. 6B, Tong'an 2nd Road, Shibei District, Qingdao Shandong China
Phone +86 13698694209
Address
RM 302-26-59 No. 6B, Tong'an 2nd Road, Shibei District, Qingdao Shandong China

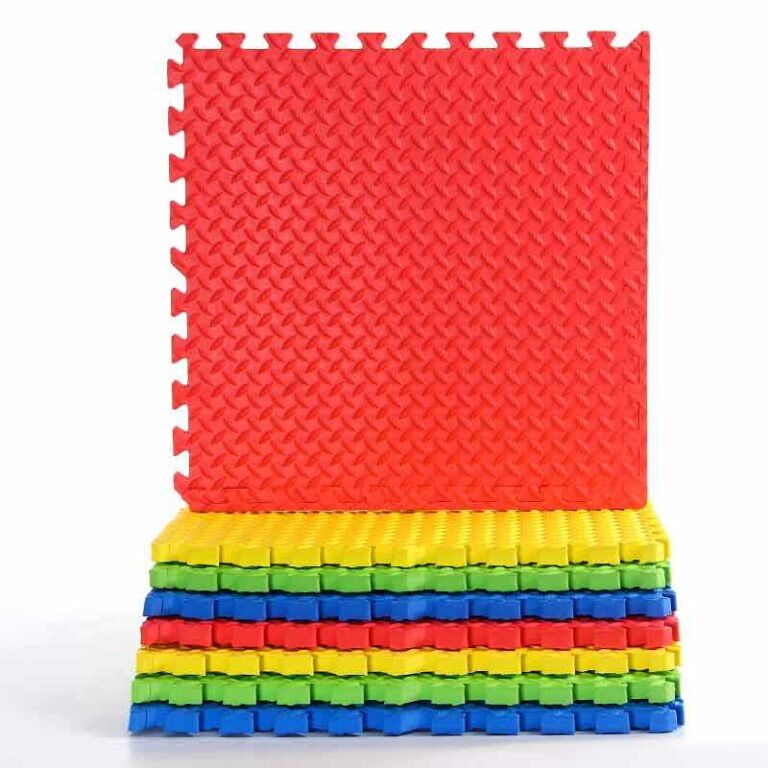
An order of 100×100 EVA mats usually lands on a site that is already behind schedule. The floor has to go down in a day, the crew has never worked with 1 m tiles, and every lifted seam becomes a complaint six months later. Four things decide whether the floor stays tight: subfloor condition, layout, thickness choice by zone, and the cleaning routine after handover.
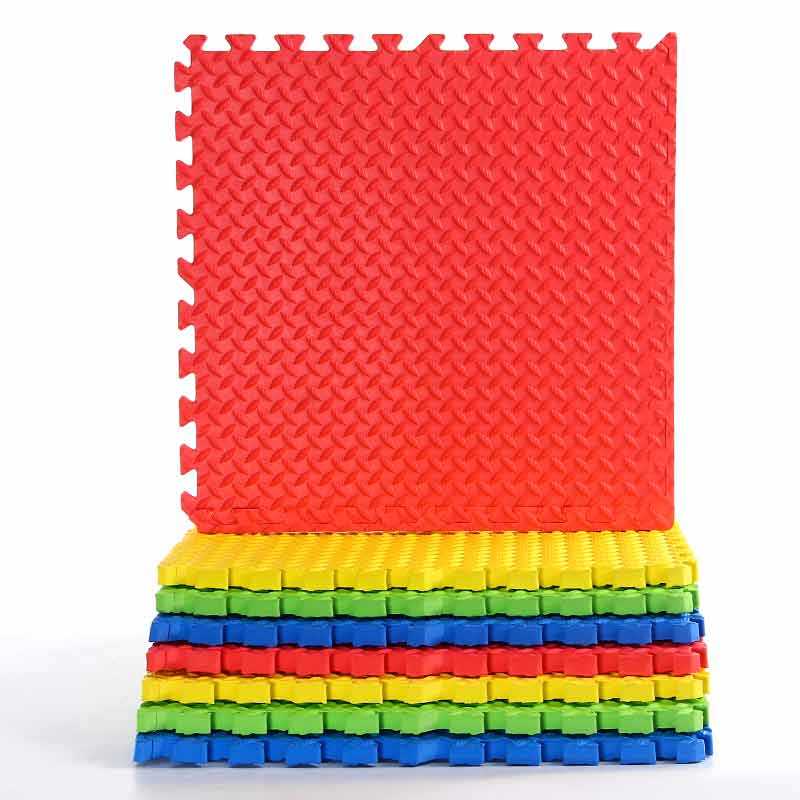
A 1 m tile shows every flaw underneath it. Sweep and vacuum the slab, then run a straight edge across the area. Grit, dried mortar and small high spots all telegraph through the foam and loosen the joint beside them. Concrete should be dry before tiles go down, and a new screed needs its own drying time. Check door clearance as well, because a 20 mm mat changes how a door swings, and check thresholds so the finished floor does not sit proud of the corridor. Unpack the cartons flat in the room for a day so the tiles settle at room temperature before installation.
Measure both directions of the room and divide by one metre before laying anything. Centring the grid leaves cut tiles of equal width at opposite walls, which looks deliberate; starting from a corner leaves a thin sliver on one side that no amount of trimming will hide. Snap chalk lines through the centre of the room and build the first row along them. Work outward in one direction rather than assembling panels elsewhere and dragging them into place, since dragging pulls fresh joints apart. Leave a small gap at the perimeter for movement and cover it with skirting or edge trim. Where a tile has to be cut, score the back with a sharp blade against a straight edge, and keep the cut edge against the wall.
Thickness is where most specification errors happen, because buyers treat it as a price lever rather than a performance choice. The same 100×100 tile is produced from 4 mm to 50 mm, and the right figure depends on what happens on top of it. Thin tiles suit light, dry activity where the floor only needs a clean, level surface. Thick tiles absorb falls and throws, but they add weight per square metre and change door clearance. The table below is a starting point for a conversation with the end user, not a replacement for their insurer, coach or governing body.
| Use zone | Common 100×100 thickness | What it changes on site |
|---|---|---|
| Taekwondo, Judo, Karate, general martial arts | 20–30 mm | Fall absorption for throws and breakfalls |
| Gym and fitness floors, group classes | 15–20 mm | Cushioning underfoot without a soft, rolling surface |
| Home gym, stretching, light equipment | 10–15 mm | Lower profile, easier to lift and reconfigure |
| School halls and multi-use rooms | 20–40 mm | Higher impact and heavier foot traffic |
Above 30 mm the tile becomes a handling issue as much as a performance one: two people carry a stack, not one, and door widths and lift dimensions should be checked before the container is unloaded.
Most seam problems are maintenance problems rather than manufacturing ones. Dry mop or vacuum with a brush head daily to take out grit that works its way into the joints. Damp mop with a neutral detergent and clean water; solvent-based cleaners and abrasive pads dull the surface texture and leave it slippery in patches. Blot spills instead of pushing them into the seams. Put felt pads under racks, benches and stands, and lift equipment rather than dragging it across the floor. Walk the field once a month and press down any seam that has started to rise, because a tile that lifts repeatedly is usually sitting on debris. Keep a few spare tiles from the same delivery, since a repair from a different batch can differ slightly in shade.
Multiply the length by the width in metres, because one tile covers one square metre. A 12 × 18 m hall needs 216 tiles, plus 5–10% for cutting waste and future repairs. Confirm the final figure with your supplier against the packing unit before you order.
They can sit on any sound, flat, dry substrate, including ceramic tile, screed and sealed concrete. They will not correct an uneven slab, a damp floor or a loose surface; those need to be repaired first. Some substrates need a primer or a moisture barrier, which is a question for the installer rather than the mat supplier.
EVA mats can be tested to ASTM F963, CPSIA, CA Prop 65, EN71, REACH/SVHC, PAHs, Formamide, UKCA and CE, depending on the product and the destination market. Documentation is available on request. Buyers normally confirm which standard their market requires, and for which product, before the order is placed.
Send us the room dimensions, the activity and the thickness you have in mind, and we will come back with the tile size, colour options and a sample arrangement that fits the job. Samples can be arranged so the committee, the client or the installer can see the surface texture and the joint before the order is confirmed.
